Setting up this blog has been long in the running. I wanted a minimal design with not a lot of flashy UI stuff. Further, I did not want an overly complicated blog system.
After a lot of investigation (and constantly saying NO to wordpress 😛), I landed upon Hugo to setup this blog. It was extremely easy to do it.
I found the documentation of Hugo quite resourceful and the online community is always at your fingertips.
But, I will list a few steps that I personally used to install this blog.
Steps:
1. Install Hugo
I use macOS. Therefore, I went for the most popular package manager Homebrew to install Hugo on my computer. To install Homebrew (if you haven’t already) on a mac or a linux machine, paste the command below (from https://brew.sh) on a Terminal and hit Enter.
/bin/bash -c "$(curl -fsSL https://raw.githubusercontent.com/Homebrew/install/HEAD/install.sh)"
Once you have Homebrew installed, use this command to install Hugo.
brew install hugo
Run this command to check if Hugo is installed successfully on your system.
hugo version
You might see a response. For example, the response on my computer is hugo v0.115.3+extended darwin/arm64 BuildDate=unknown. If you do not see an error, it Hugo is probably installed properly.
Now, let’s create a Hugo site.
Choose a location on your computer to hold its contents. You have to ensure that it is empty.
Let’s say, a folder named blog in your current directory.
To install Hugo site in the blog folder, run
hugo new site blog
2. Install Blog Theme
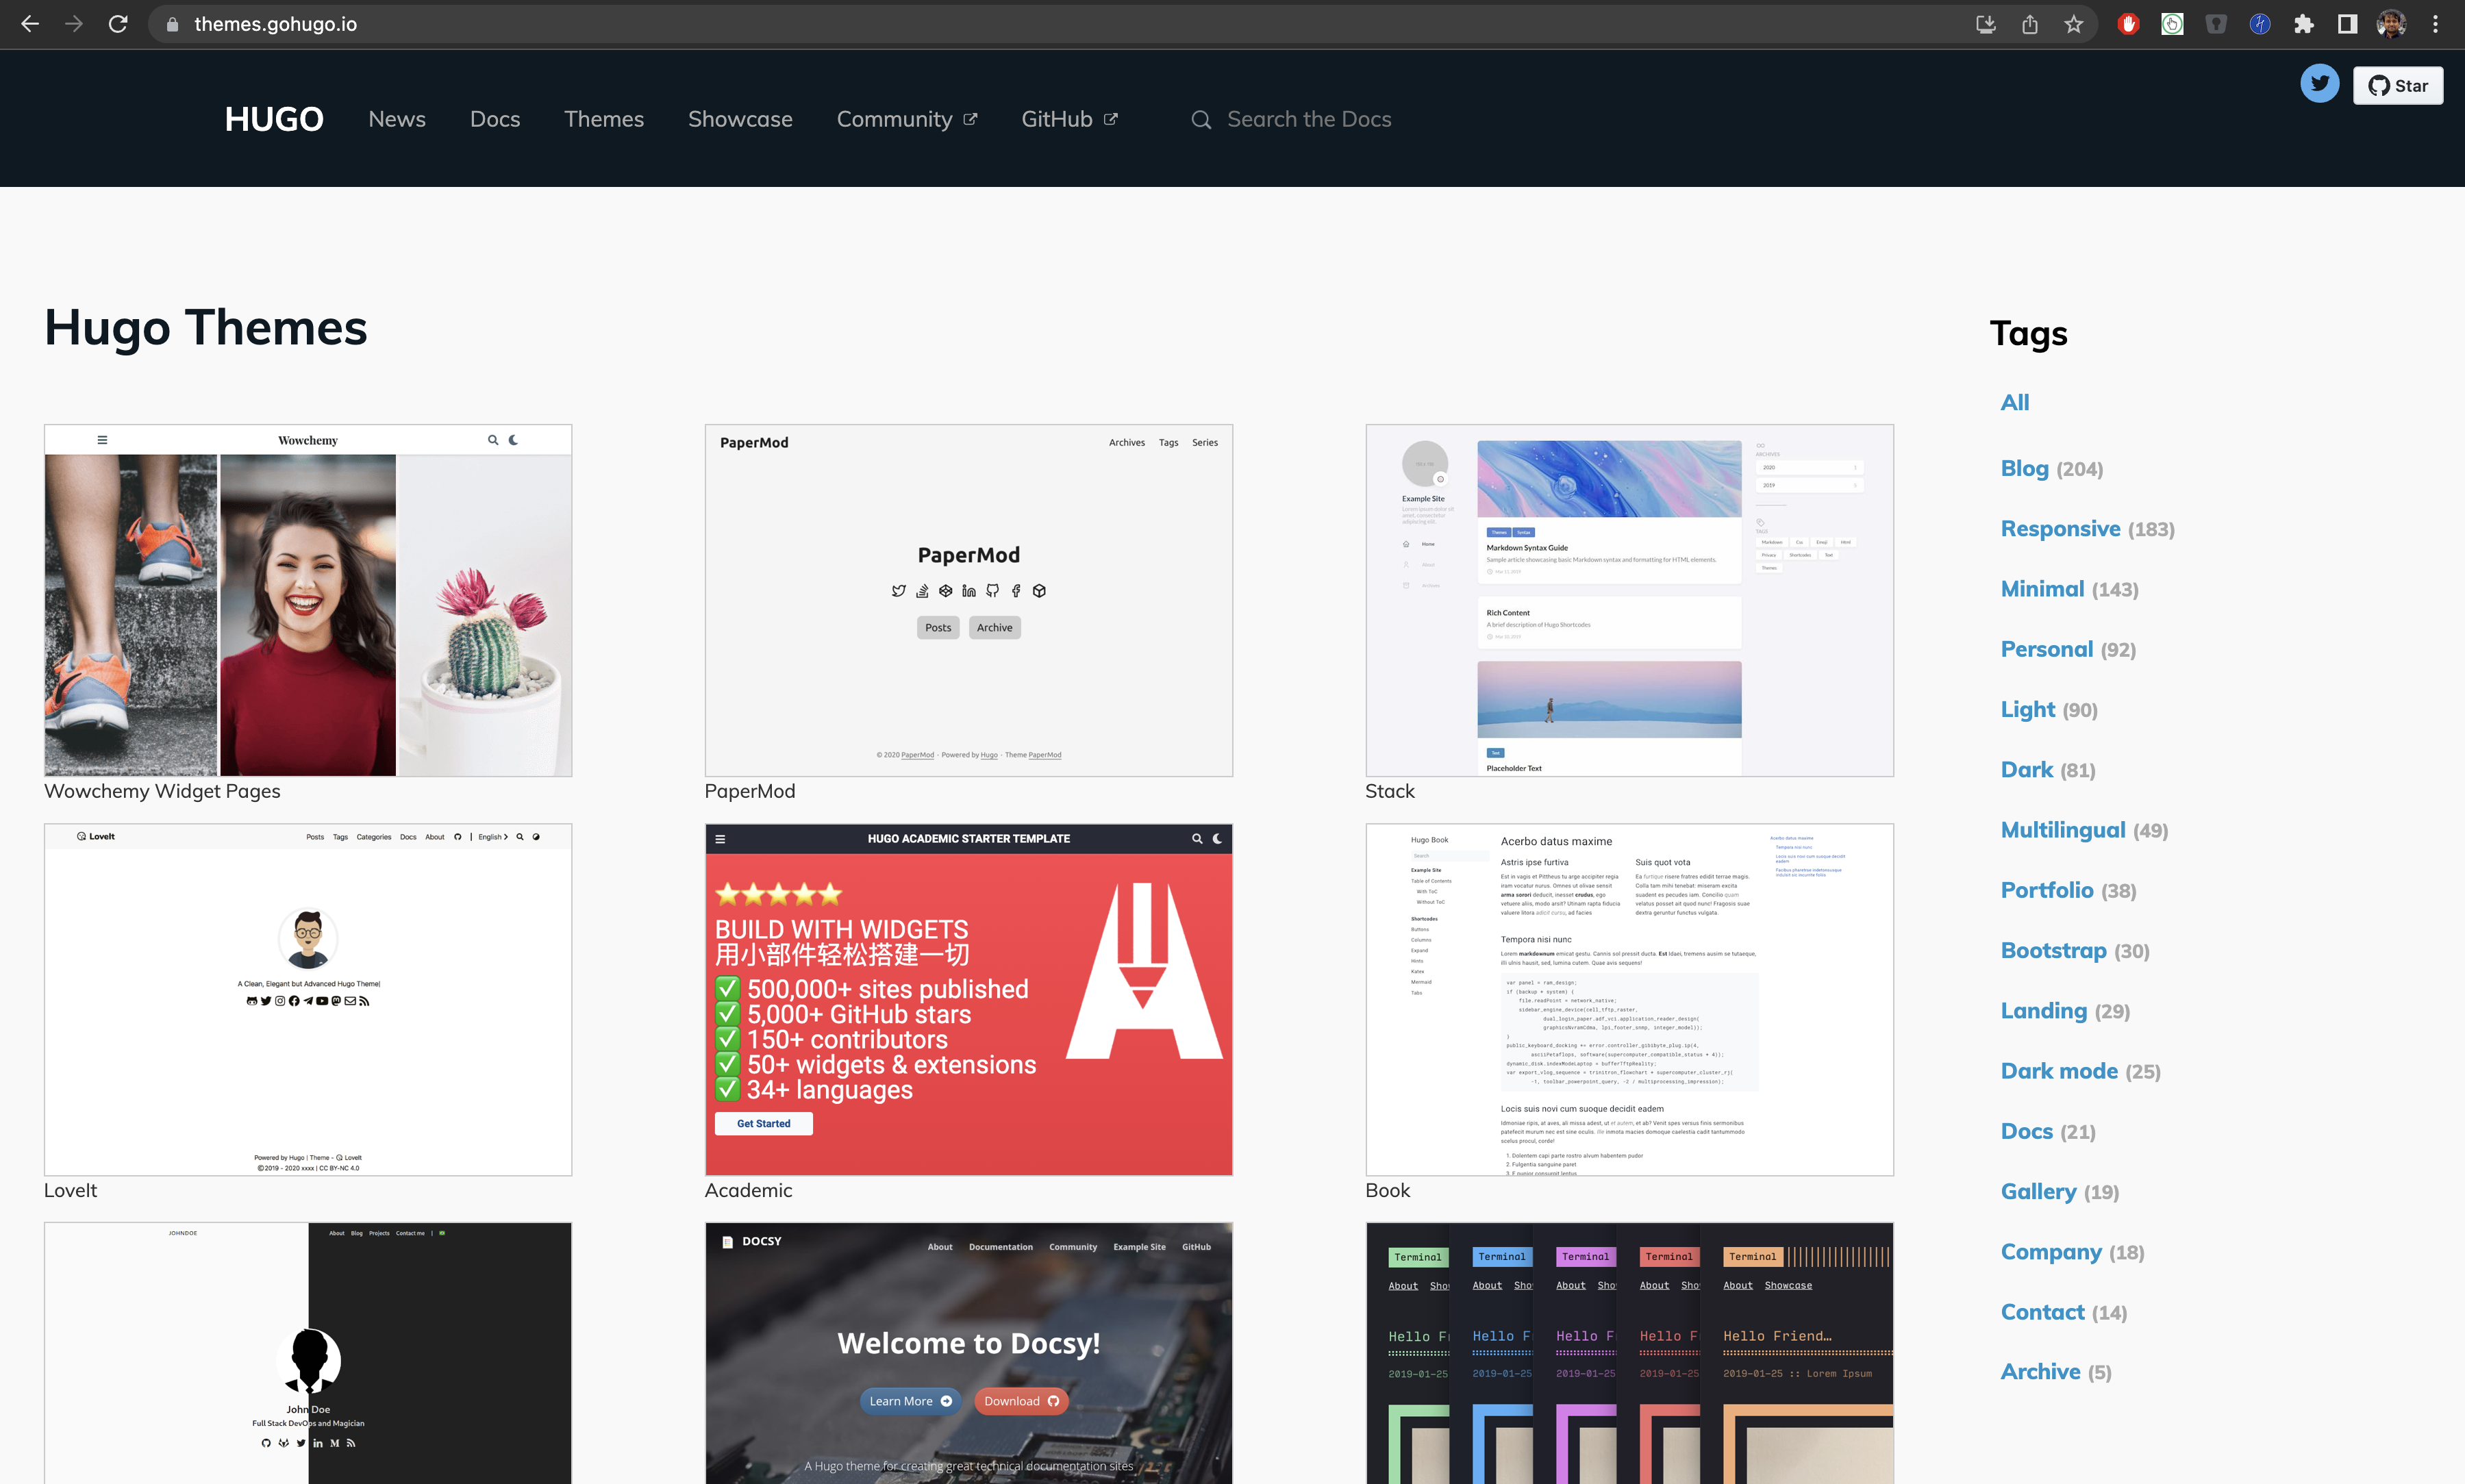
Hugo maintains a long repository of free themes on their own website.

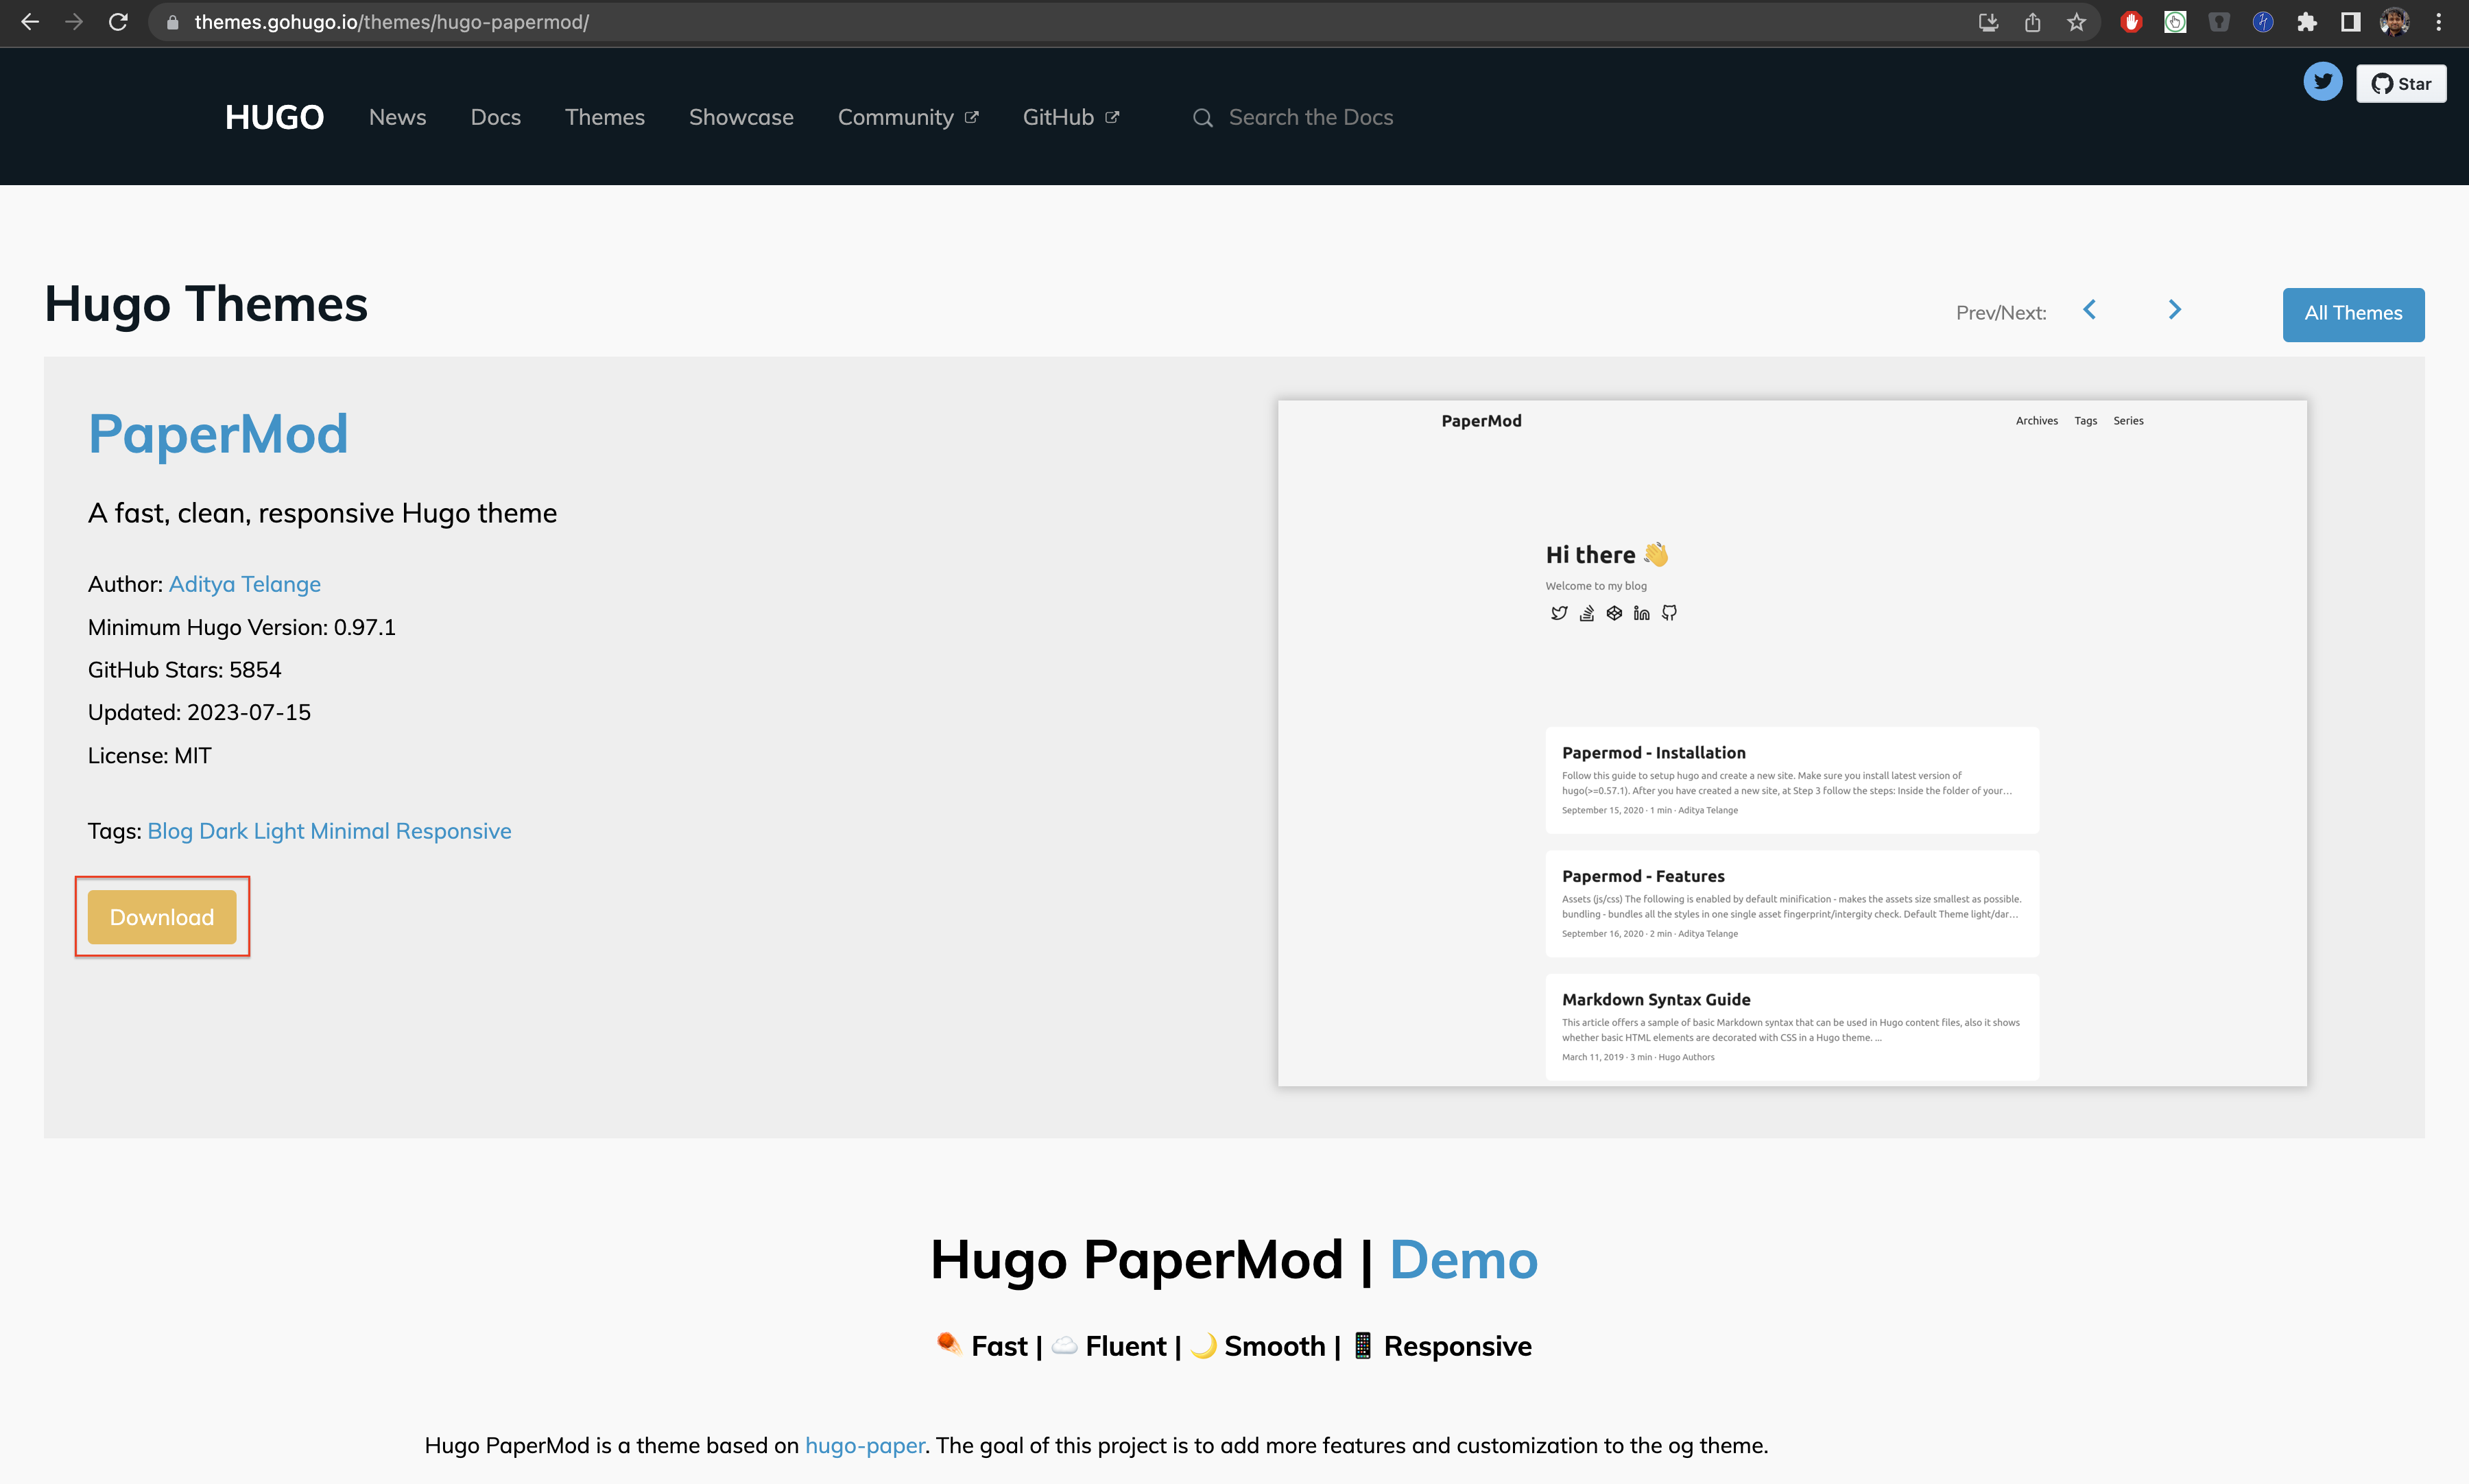
Find a theme you like. You can click on it and find the “Demo” link inside it to check how the theme would feel like using. I chose the theme “PaperMod”.
Click on the Download button on the theme.

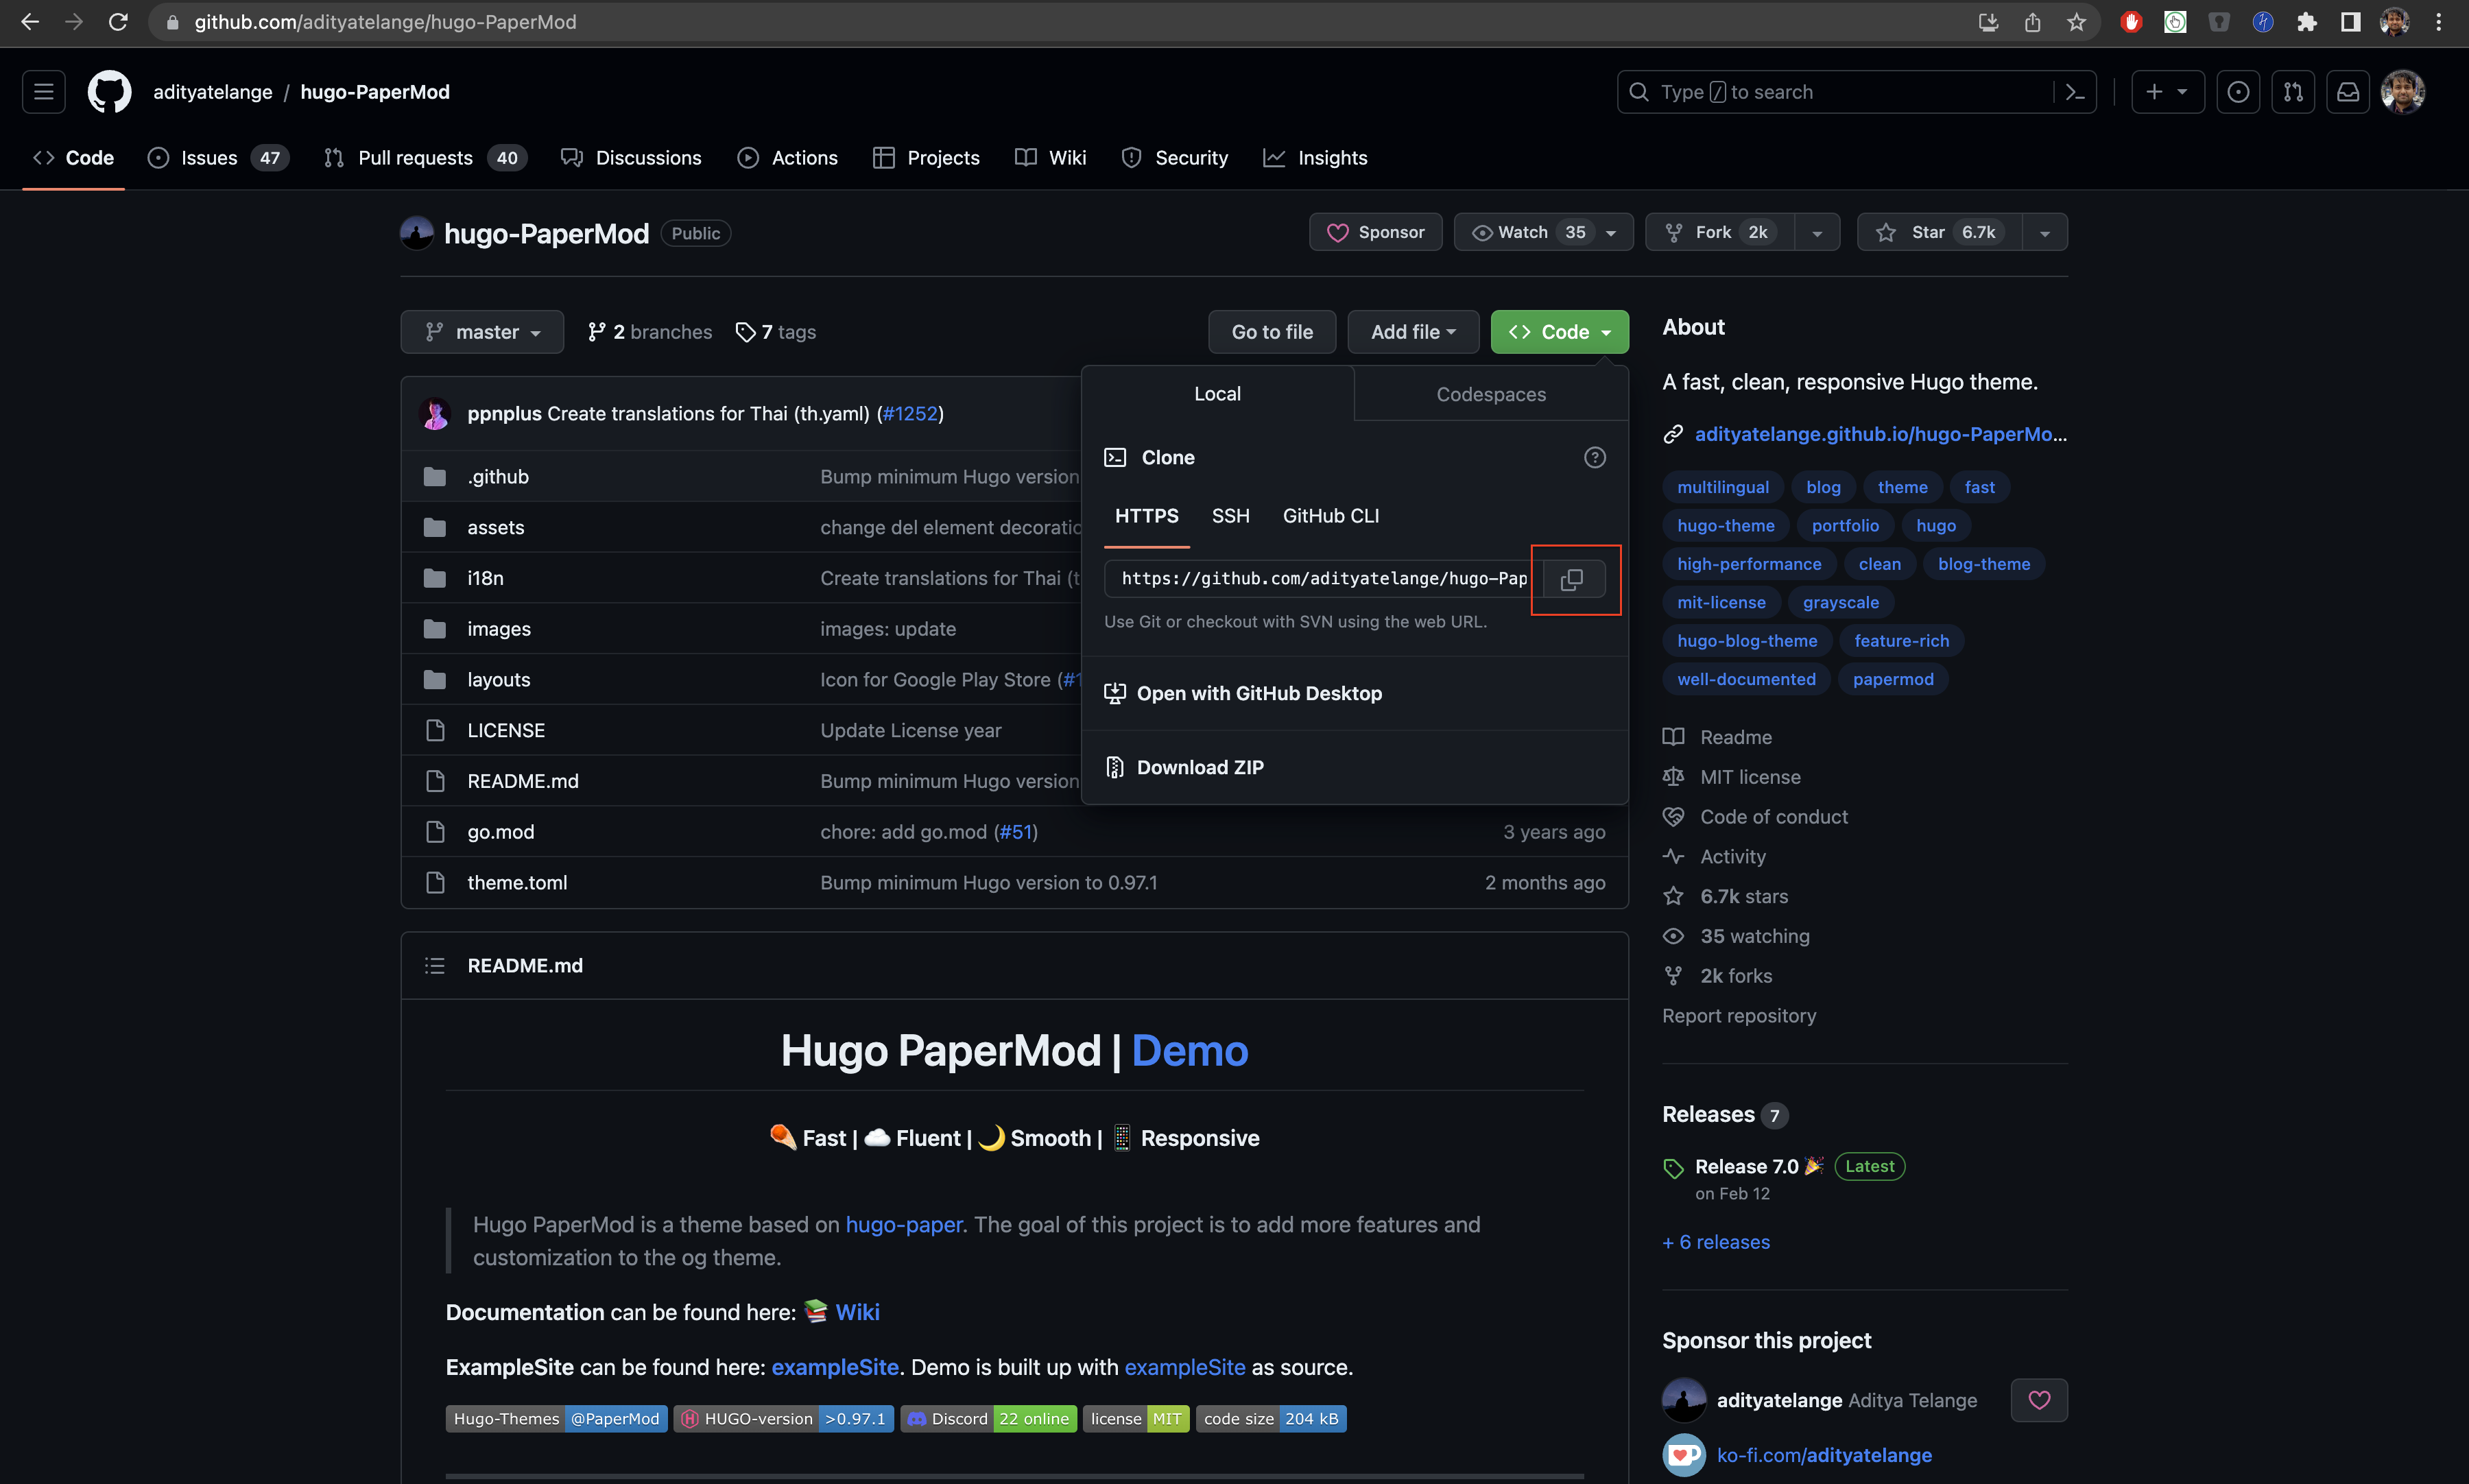
The idea is to find the theme repository link. After opening the github link, copy the https link for the repository.

After copying the link, return to the terminal and clone it in the themes folder inside your blog folder.
# Check if themes folder exists
ls
# Clone the theme repository in it
git clone https://github.com/adityatelange/hugo-PaperMod.git
3. Customize Theme
The main configuration of the blog theme is inside the hugo.toml file.
However, depending on the Hugo version, the config file could be called config.toml or hugo.yaml or config.yaml.
Open the config file and configure it as per its own parameters described in its documentation. For PaperMod, the documentation is available in on its website.
The most important changes that are quite important for everyone to do are
# Base URL of your blog
baseURL      = "https://blog.harshankur.com/"
# Title of your blog.
title        = "Harsh's Blog"
# Name of theme that you want to associate with
theme        = "hugo-PaperMod"
Further, you can also configure all the social media urls that you want your readers to follow you in. I have configured them as below:
[[params.socialIcons]]
name = "twitter"
url = "https://twitter.com/y_so_harsh"

[[params.socialIcons]]
name = "github"
url = "https://github.com/harshankur"

[[params.socialIcons]]
name = "linkedin"
url = "https://linkedin.com/in/harshankur"

[[params.socialIcons]]
name = "instagram"
url = "https://instagram.com/y_so_harsh"
4. Create your first post
To create your first post, enter the following command on the terminal.
hugo new posts/firstpost.md
All the blog posts are stored by default in the posts folder. So now, we have created a post called firstpost. All the posts are always in markdown format. To learn how to use markdown, follow this guide.
Open the new markdown file and edit it as follows.
---
title: "firstpost"
date: 2023-07-16T23:22:50+02:00
draft: false
---

This is my first post.
5. Start the Hugo Server
To start your blog server, run the following command while in the root directory of your blog
hugo server
You will find that your blog must have been hosted in port 1313. To access it, visit http://localhost:1313/.
Now, it is up to you to host it somewhere of your choice. I, for one, have hosted this blog on Netlify.