I like working on my own mini-projects in my free time. Some of them are libraries or extensions and others are websites. The libraries or extensions are distributed from their own package manager of browser web store which keep a track of all the downloads from across the world. It gets a little tricky for the websites if I do not want to inject a random script on my website that shows a hideously looking view counter from the 2000s. No one makes static websites anymore. No one wants to see a view counter on a website anymore. Further, I am interested in knowing the digital footfall on my own websites instead of broadcasting them. Therefore, my requirements are quite limited to a db that stores each view.
I looked for online hosted systems which my websites could make an API request to and they would register them as a view in their db which I could access later.
I did find individual hosted systems for databases like freesqldatabase.com which were free in name only. This particular website froze my db access unless I paid them money in less than 7 days.
Anyway, to my dismay, there were no free db hostings available anywhere. Therefore, I decided to host them myself, at home, using my Raspberry Pi Zero W.
Hardware Setup
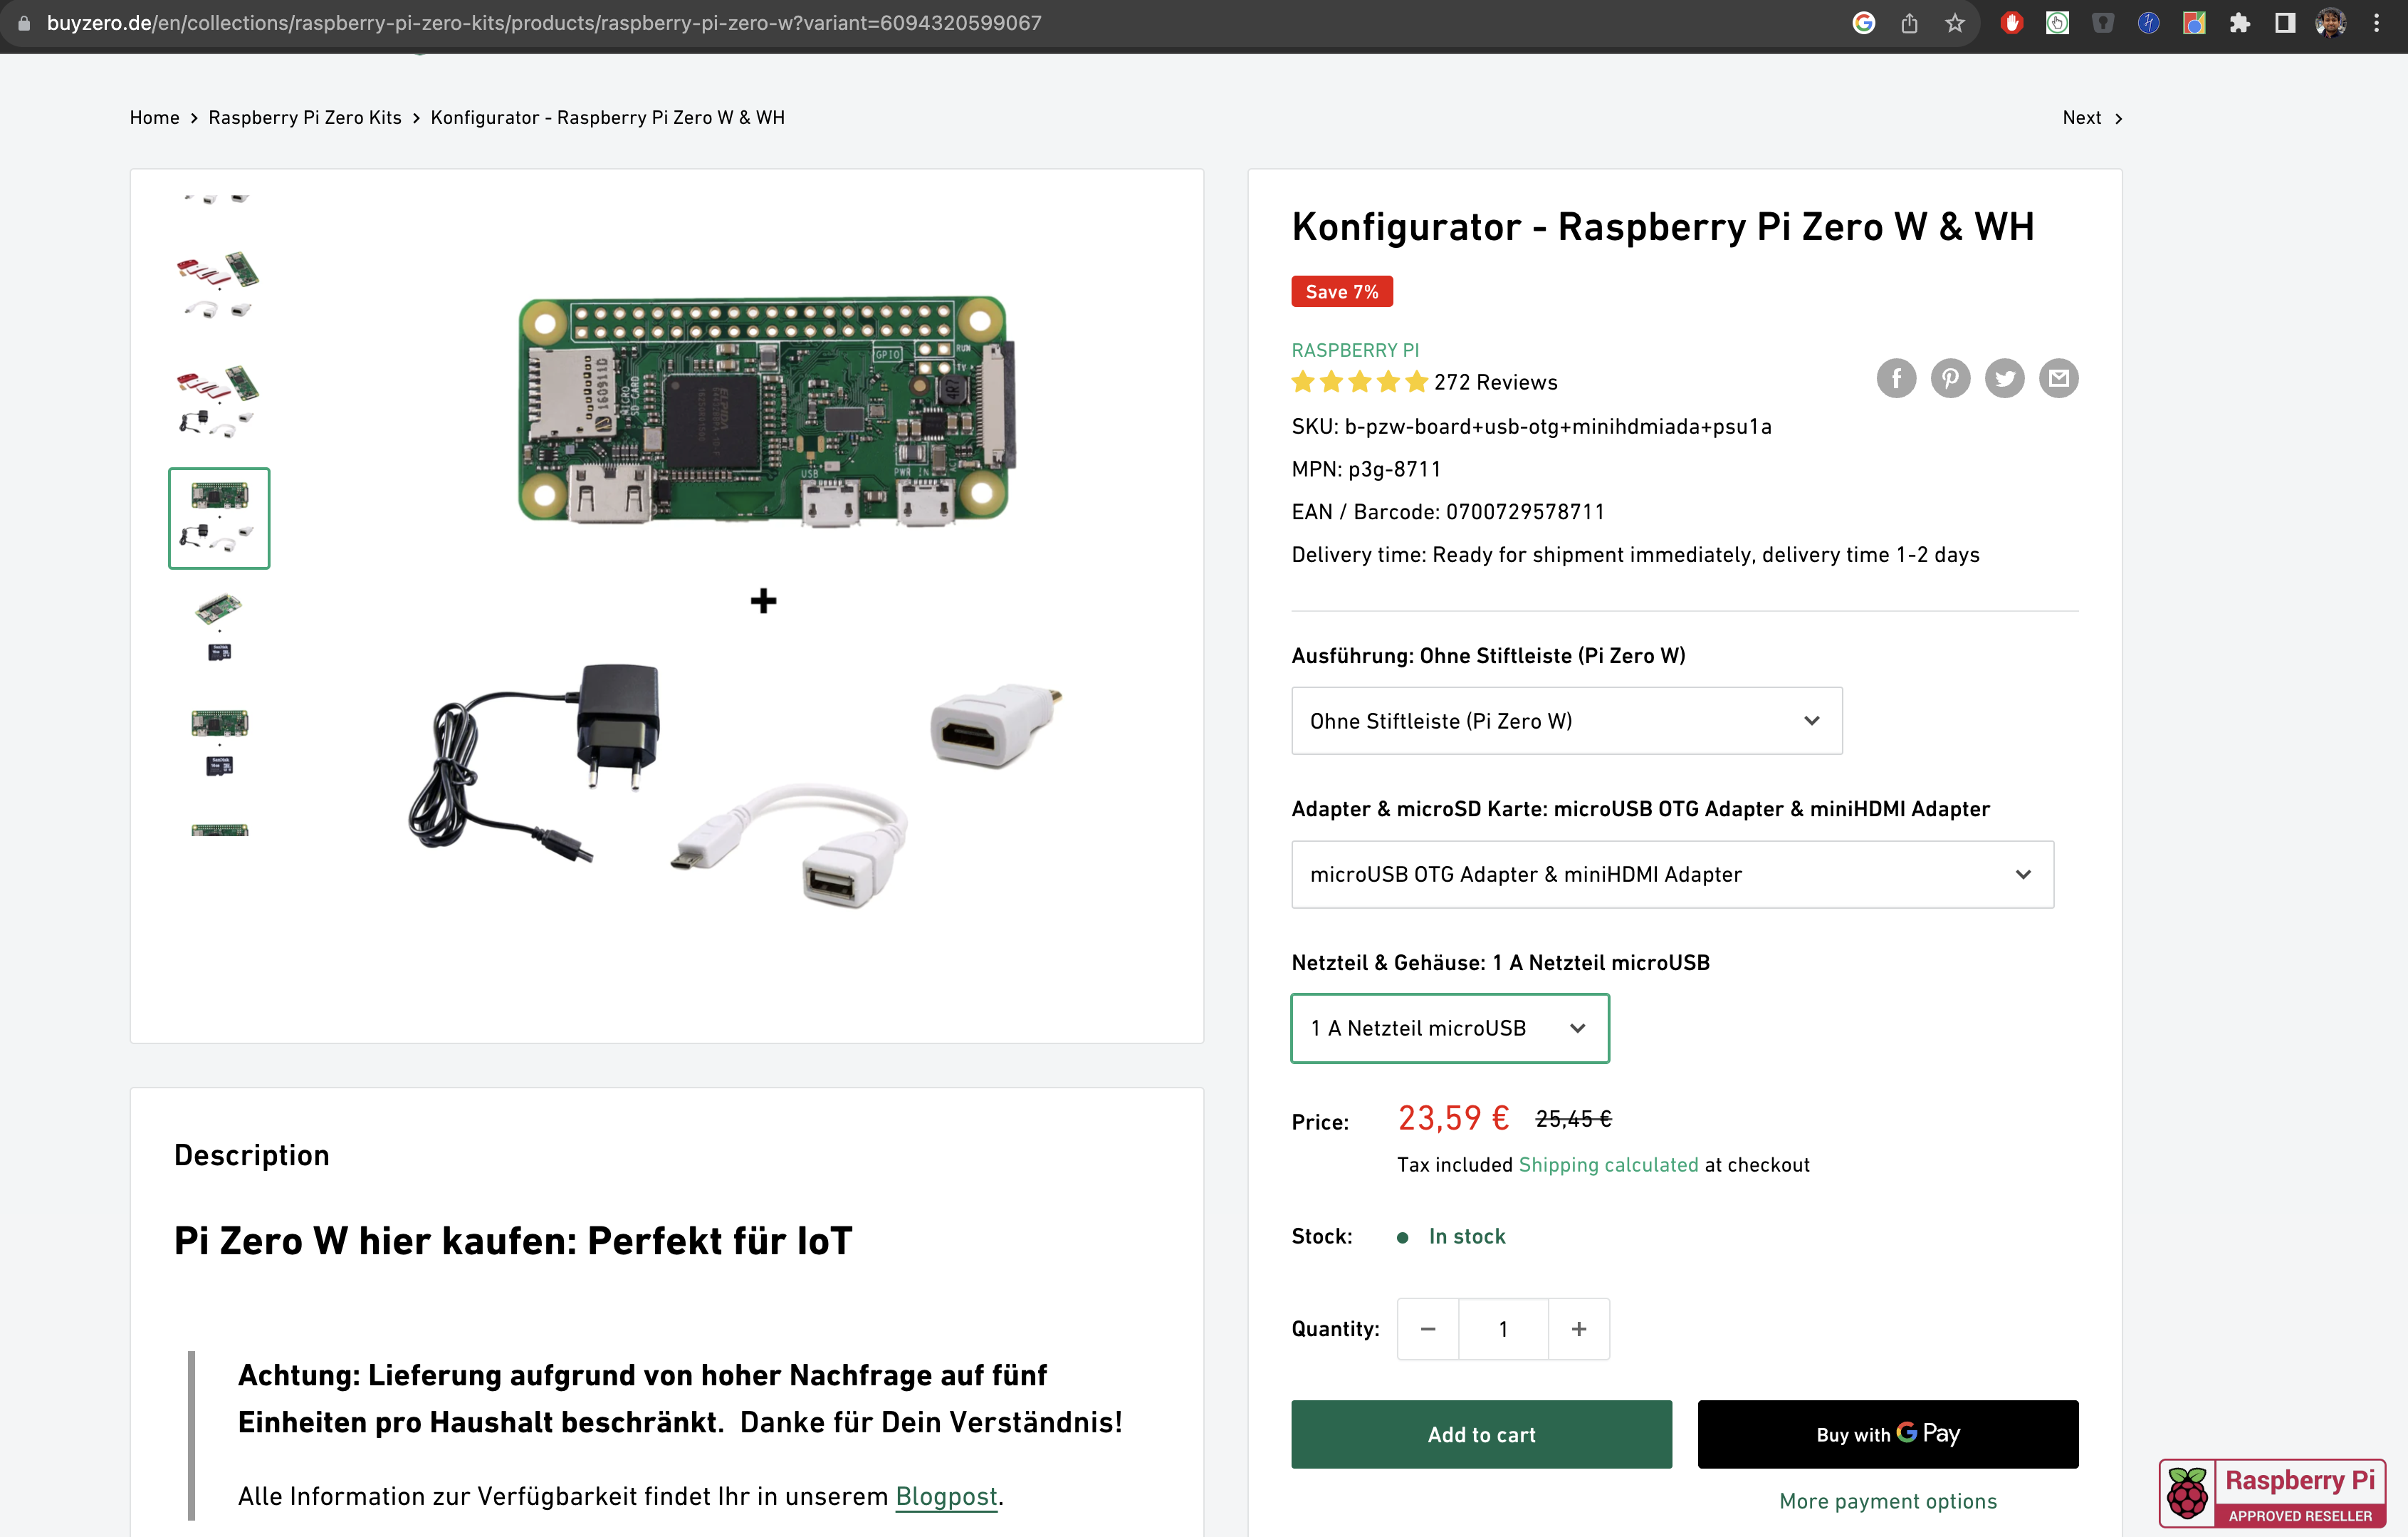
I purchased a 2017 Raspberry Pi Zero W from pi3g because I needed something which could run continously and be extremely power efficient. Nothing comes close to the Zero W Raspberry Pi. My processing needs were very low as I only needed to host a reverse proxy server to safely route requests, a middleware backend server to process register view requests and a mysql db.

I got it together with microUSB - USB A converter and a microHDMI - HDMI converter as well in case I want to play around without the headless way. This cost me around €30 with shipping charges. I also purchased a Sandisk SD card 32GB as storage for the Raspberry Pi from Amazon.de which cost me around €9. So, my hardware setup was a one-time cost of less than €40 which I say is quite economical given the advantages.
Setting Up Raspberry Pi
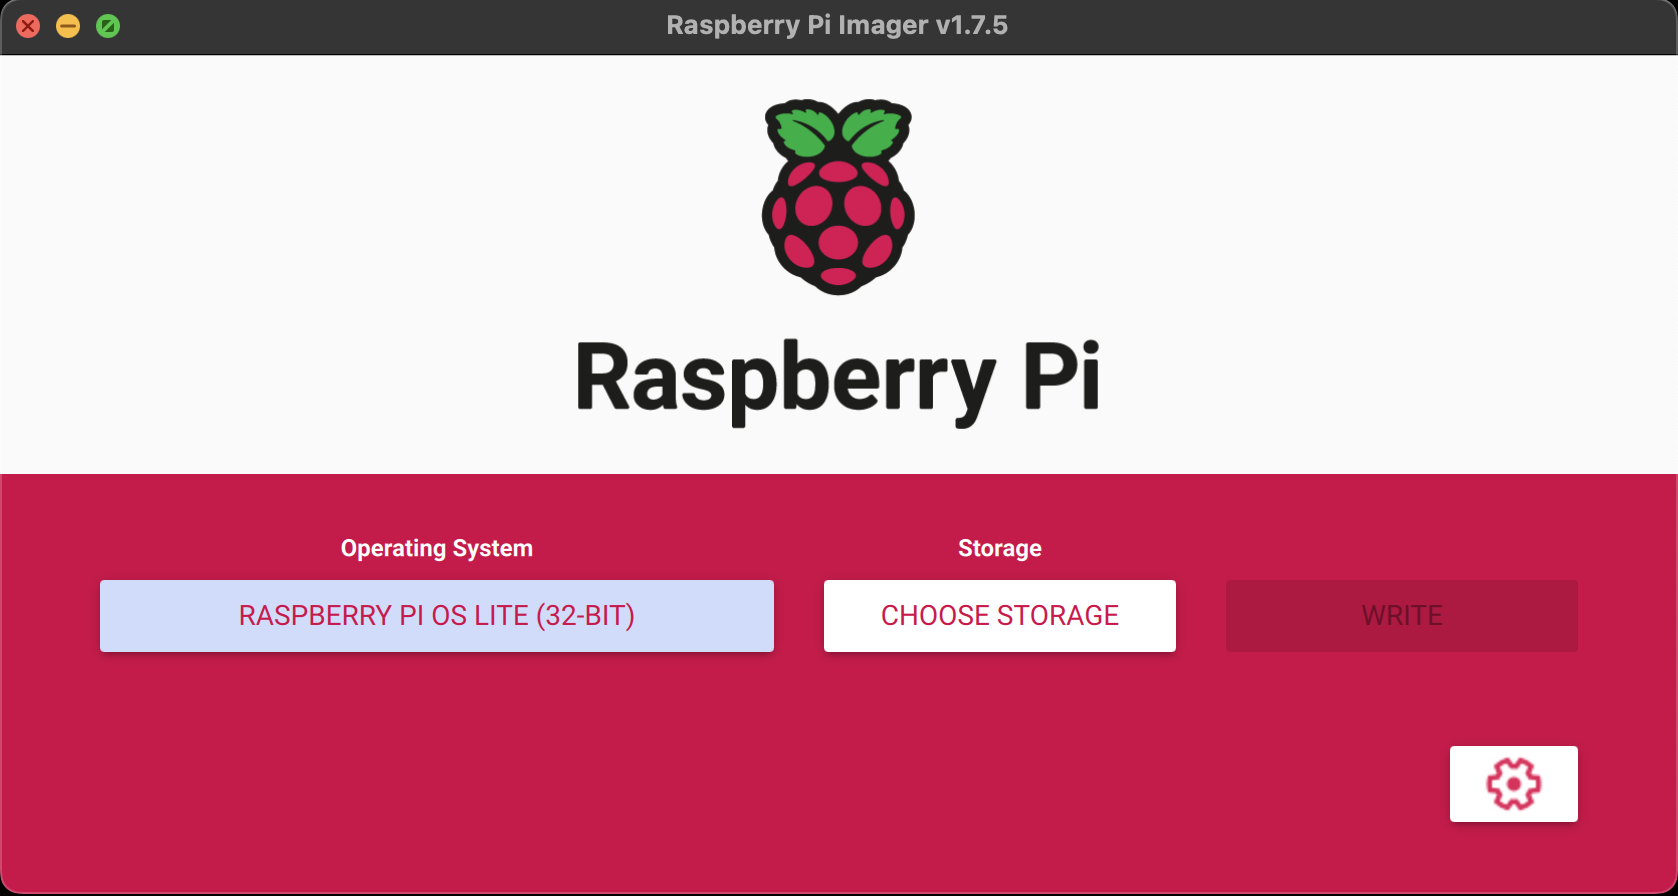
I downloaded the Raspberry Pi imager from their website.
The Pi Imager is a very straight forward tool that lets you select an OS version to install on your Pi and the SD card which you would like to add the OS files to. For my own requirement, I chose Raspberry Pi OS Lite, which is a headless implementation of the OS and does not offer a GUI. I did try and setup Raspberry Pi OS onto it as well and I was able to VNC onto it. But the frame rate was poor and there wasn’t anything I could get by using Pi as a GUI computer instead of directly deploying things using the super powerful Terminal.

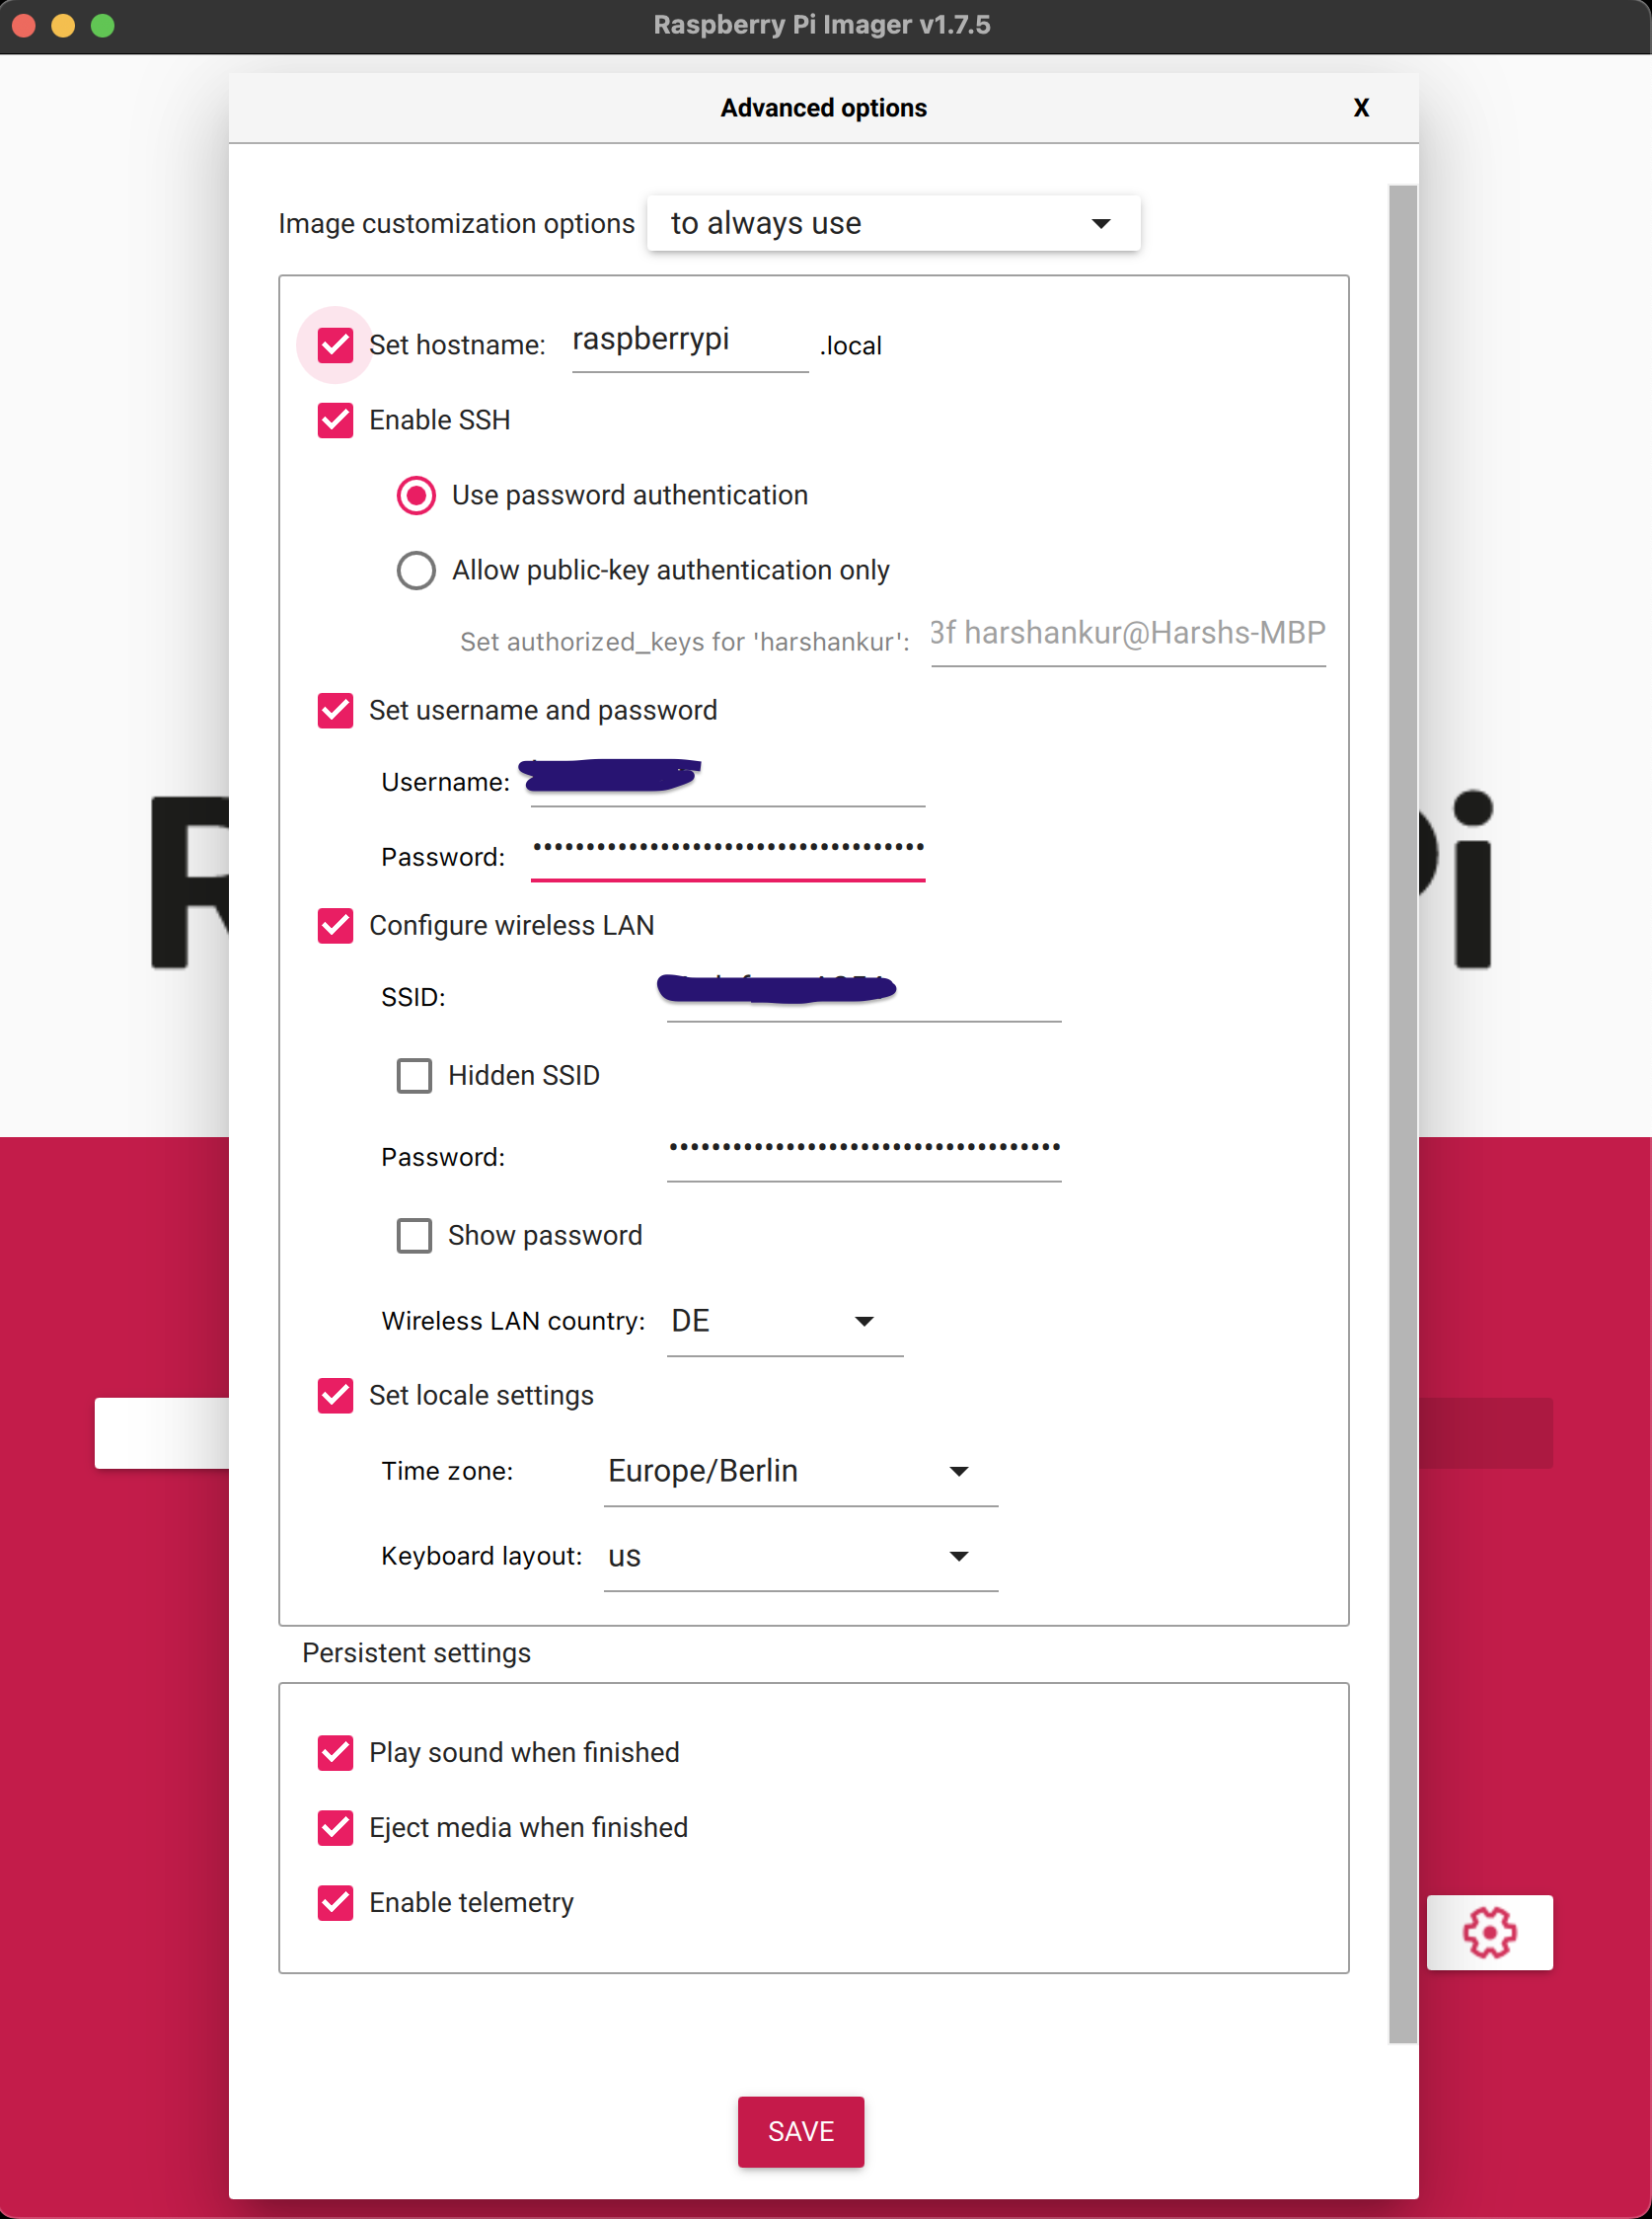
Since Pi is mostly used as headless linux units, the Pi Imager also has a bunch of advanced tools to do some initializations to make it easy for you to ssh into your Pi later.

Here, I set the local hostname for this device on my wifi network. I set the ssh permission to a user account that I would use to log into it. I provide the WiFi SSID and Password so it automatically gets connected to my router when it boots.
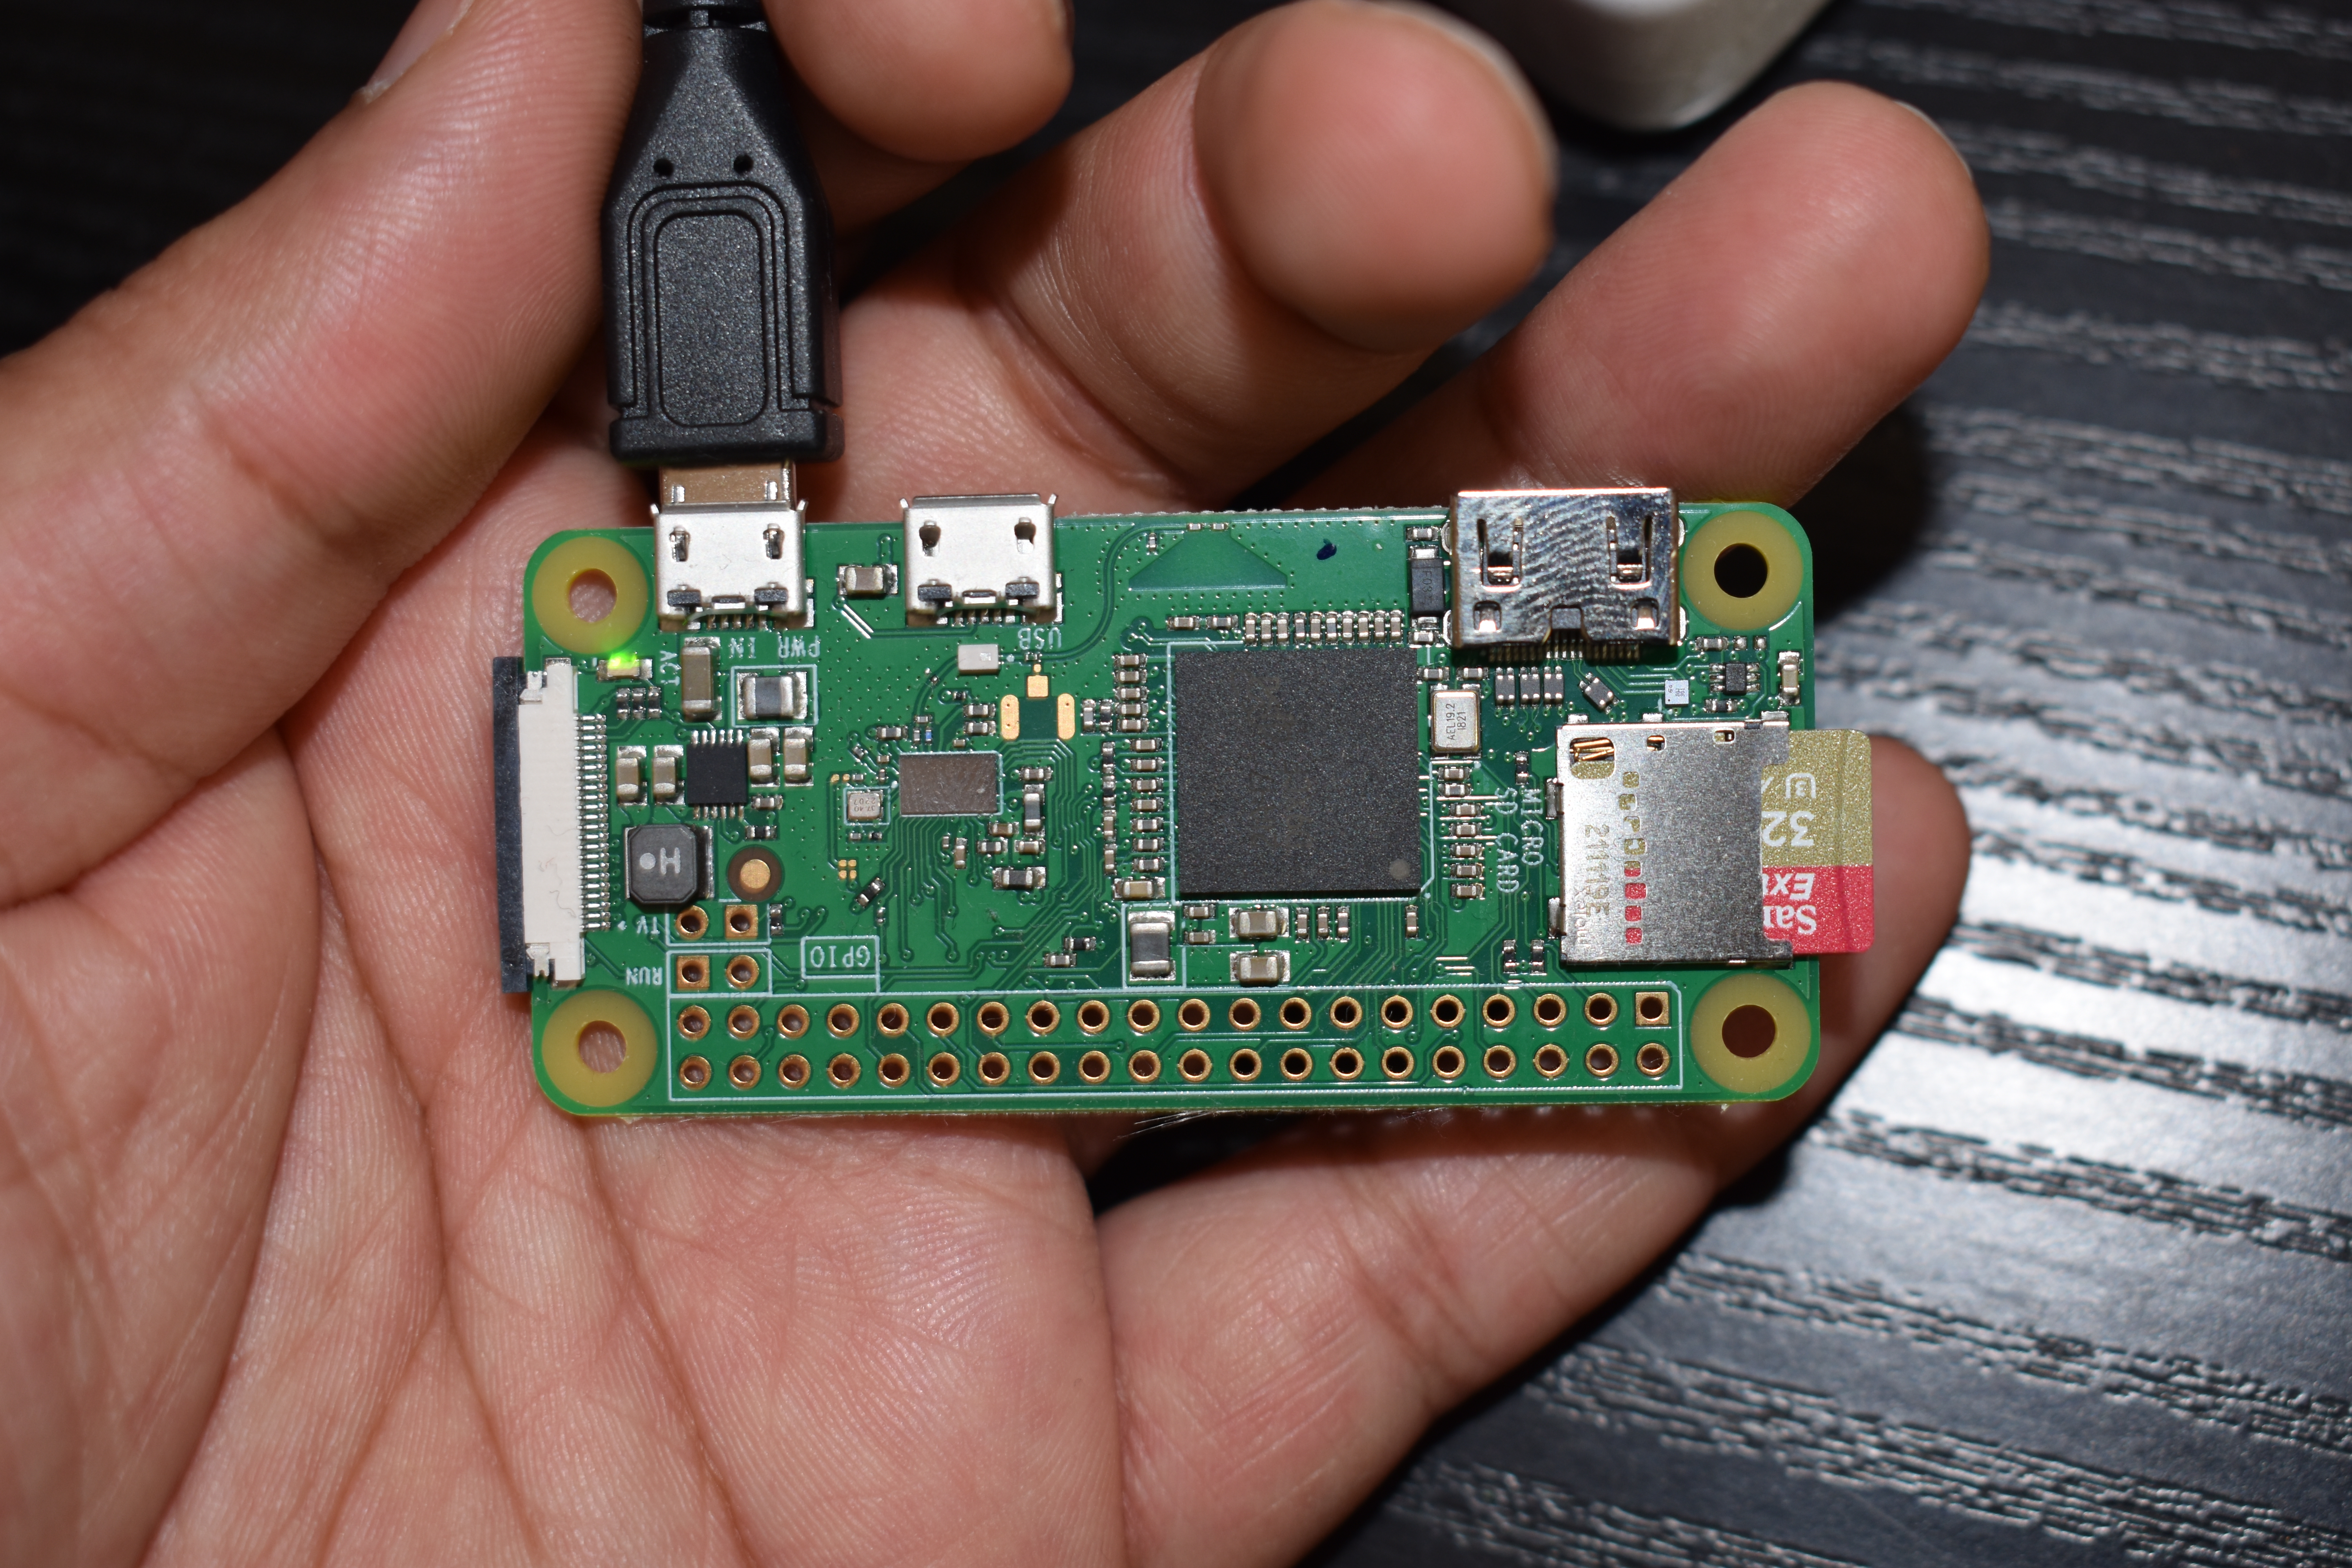
After I burn / put the OS files on the SD card, I ejected it and put the card in the Pi and plugged it on to power. After about 30 sec, it was discoverable on my local network. The ping works too.

Next, I ssh into the Pi and set it up with the initial updates with apt, installing vim, updating git, installing nginx and installing a workable version of nodejs.
View Counter Database
I setup a fully closed MySQL DB on the Pi with access allowed only to its localhost. I want to be very safe with DB executions. Therefore, my db is never really exposed to the outside world.

I setup a small table structure which allows storing IP address, country the access if arriving from, timestamp and a deviceSize. It is a quite minimal implementation as I only want the basic things to know how many total and unique views I am receiving. I plan to get rid of directly storing the IP address in the future because it is personal data and it is not a good practice. But I am good as of now as I am not running any business. I will fix it in later iterations to ensure calculating unique views as well by shifting from ip-based determination to a localStorage flag based determination of unique view. But, that comes later.
My table looks like this.

The SQL statement to setup such a table called blog in a db called viewcounterdb is
CREATE TABLE `viewcounterdb`.`blog` (
  `id` INT NOT NULL AUTO_INCREMENT,
  `ip` VARCHAR(45) NOT NULL,
  `country` VARCHAR(45) NULL DEFAULT NULL,
  `timestamp` DATETIME NOT NULL,
  `deviceSize` VARCHAR(45) NOT NULL,
  PRIMARY KEY (`id`),
  UNIQUE INDEX `id_UNIQUE` (`id` ASC) VISIBLE
);
View Counter Backend
I wrote a very simple express js code that handles REST API requests to register views. This is also just barely functional and has things that I need to change. For example, I am using a get request to register something which is not wrong functionally but is not the right approach as for what a get request is for. I will change it to post later.
The repo is here.
const express = require('express');
const cors    = require('cors');
const mysql   = require('mysql');
const geoip   = require('geoip-country');
// dbInfo contains host, user, password, database parameters.
const dbInfo  = require('./dbInfo.json');
// Custom json for allowed data that contains values for each required value.
// For now, it contains only appId and deviceSize.
// This is used only for validation to prevent sql injection
const allowed = require('./allowed.json');
const app     = express();

// Use Cors
app.use(cors());

// Fetch the real ip even if the client was behind a proxy
app.set('trust proxy', true)

// Port to deploy this server
const PORT = process.env.PORT || 3030;

// Returns the sql query statement
function getQueryStatement(ip, appId, deviceSize, ipInfo)
{
    return `insert into ${appId} (ip, country, timestamp, devicesize) values ('${ip}', '${ipInfo.country}', '${(new Date()).toISOString().slice(0, 19).replace('T', ' ')}', '${deviceSize}')`;
}

// Returns ip address if from behind nginx proxy
function getIp(req)
{
    return req.headers['x-real-ip'] || req.ip;
}

// Get your own ip Handler => Only for test purposes.
app.get("/ip", (req, res) =>
{
    res.send({ ip: getIp(req), ipInfo: geoip.lookup(getIp(req)) });
})

// Register View Handler
app.get("/registerView", (req, res) =>
{
    // Get app id
    const appId = req.query.appId;
    // Get device size
    const deviceSize = req.query.deviceSize;
    // Get ip address
    const ip = getIp(req);

    // Validate data if present
    if (!appId || !deviceSize)
        return res.status(400).send({ message: "Insufficient query arguments." });

    // Validate data if allowed
    if (allowed.appId.indexOf(appId) < 0 || allowed.deviceSize.indexOf(deviceSize) < 0)
        return res.status(422).send({ message: "The supplied query arguments are invalid." });

    // Get ip info from geoip
    var ipInfo = geoip.lookup(ip);
    // RASPBERRYPI Node environment is not updated enough to understand ?? operator.
    // Check if ipInfo is not null. If it is, return empty object.
    if (!ipInfo)
        ipInfo = {};

    // Register View with the db
    var connection = mysql.createConnection(dbInfo);
    // Start Connection
    connection.connect();
    // Send Request to db
    connection.query(getQueryStatement(ip, appId, deviceSize, ipInfo), function (error, results, fields) {
        // Close db connection
        connection.end();
        // Respond with Error
        if (error)
            return res.status(400).send({ message: "Error with registering to db.", error: error, query: getQueryStatement(ip, appId, deviceSize, ipInfo) });
        // Respond with Success
        return res.status(200).send({ message: "Success!" });
    });
})

// Listen to port.
app.listen(PORT, () =>  console.log(`server started on port ${PORT}`));
I added a few validations for the type of allowed values for things that are being received as params. I want to avoid any kind of malicious SQL injections in my code. Therefore the appId and deviceSize values need to be stored in an allowed.json beforehand for it to work.
You can go through the readme to understand how to setup the viewcounter backend.
I am planning to add more things on the RaspberryPi to stress-test it a little. But handling a few api requests should be pretty easy for this device.
